
Spot UV Business Cards (Matt Laminated both sides)
Spot UV (ultra violet) is a print finishing effect used mainly on business cards, colour brochures, printed folders etc. to highlight certain parts of the artwork such as logos or photographs.
The effect is to make the treated artwork much more reflective than the surrounding artwork. Where the main product has been matt-laminated, highlighting key areas with a glossy effect really does create a superb, professional effect.
[wpanchor id=”spotuv”]
Preparing artwork for the spot UV process.
The UV plate is treated as a single (spot) colour and setting up the artwork is, in most cases, very easy to do. Accuracy is key.
Should you wish to do the artwork yourself then the following shows a couple of examples:
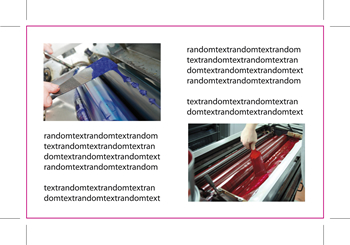
A basic spot UV as used on photographs.
The following artwork could be a business card, full colour brochure or folder etc.
In this example we’ve used a basic business card shape and the 2 photographs will have the UV treatment. (The magenta line around the outside of the card has been left in for clarity).
In this instance, if the 2 photographs are sat in picture boxes, then it’s simply a case of cutting away the photograph and leaving empty boxes behind in the exact same position.
All that we need to do is fill the 2 empty picture boxes with the colour black, remove anything else (text for instance) that does not require UV and we are then left with the following:
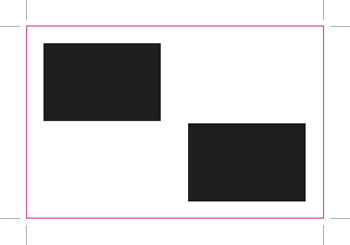
Remember, the magenta card outline will be removed before the printing stage so it’s very important the original crop marks (corner marks) are left in place. This will allow the press operator to position the UV plate with 100% accuracy.
The above image can now be saved as a separate file e.g. business_card_UV_plate.eps and supplied with the original business card artwork.
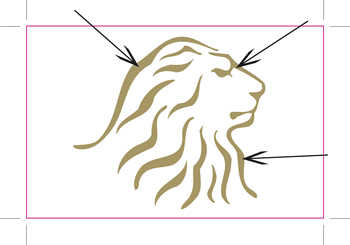
When working with vectored eps files UV plates are very easy to create as all parts of the artwork are easily selectable.
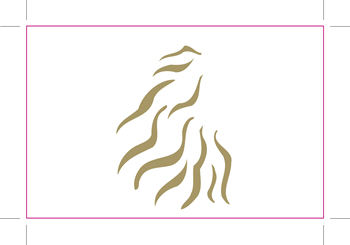
In the Lion Head image below the designer may for some reason not want part of the head and mane UV treated, as shown by the arrows.
In the graphics program the parts would be removed (remembering to keep the all-important crop marks in place) to leave this:
As with our very first example, it’s now simply a case of converting the remaining artwork to black as shown below:
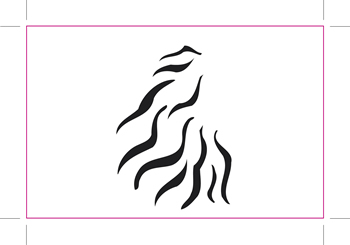
Don’t forget to remove the magenta outline, if you’re using one, before sending to print.
Sometimes you may have a more complicated image that is only available as a hi-res jpeg or tiff file.
In these cases you’ll probably need to load the image into Photoshop© and create clipping paths (where you draw around the image with a pen tool) or you may be lucky and be able to simply erase the parts not required for UV. It all depends on the image.
Hope this helps!

